Infin8 Surfacing was recently tasked with creating a custom shower tray for an architect’s client. As with everything we do, we set about meticulously bringing our client’s idea to life.
The brief:
We were approached by an architect who asked us to create a custom shower tray to suit the latest bathroom trends.
The solution:
In the past, we would fabricate a 100mm thick shower tray that would be placed upon the screeded shower floor and it would protrude approx. 70mm above the finished floor level.
The latest bathroom shower trend, is to create a shower tray that is flush with the tiled bathroom floor finish.
At the time of design, we had purchased our CNC machine and that aided us to be able to solve our clients brief.
We laminated two pieces of 12mm thick material together to give an overall thickness of 24mm. We instructed the contractor to screed the shower floor area to 24mm lower than the final floor finish. Our CNC machine created a sloped fall towards the waste. Therefore the contractor only needed to screed the floor level and NOT to a fall like in the past.
Process:
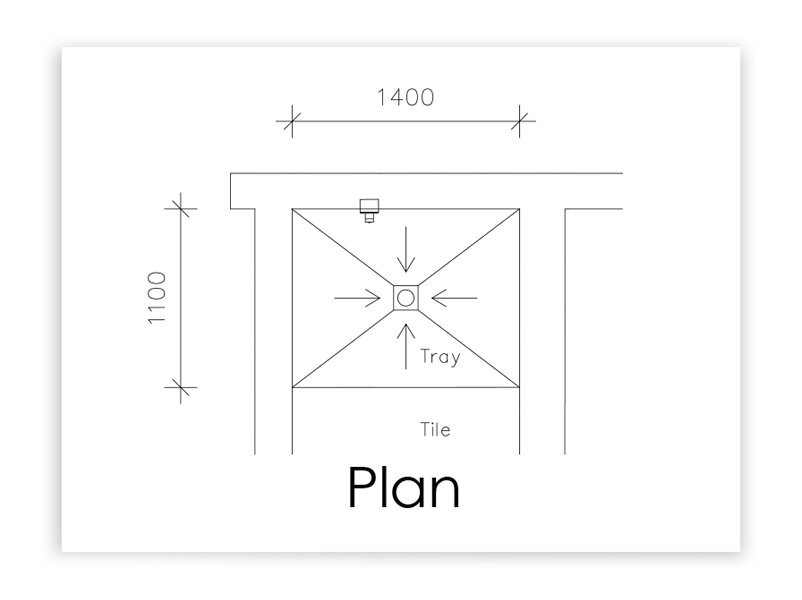
To kick off the process, we sketched the plans for the design to our client’s specifications. Satisfied our client was happy with the design, we were able to move on to the next part of the process, which is called templating.
Templating:
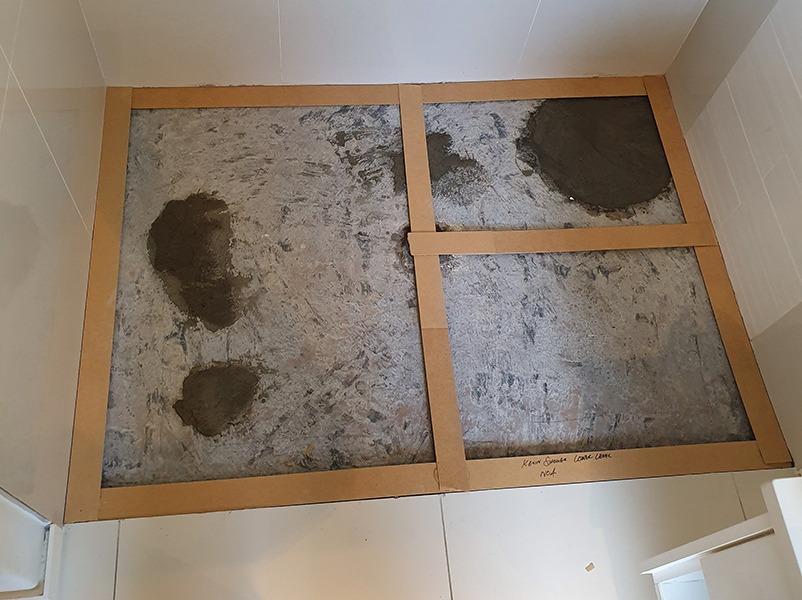
Templating involves using Masonite strips to measure out the required area, an important part of the process, considering the tray would be installed between two walls. An Infin8 Surfacing fabricator as well as a plumber and builder met onsite during the templating process to take care of any troubleshooting that might occur during installation. One of the potential areas of concern was incorrect or insufficient grey water drainage. We raised the point that the CNC slopes on the tray base require installation on a level surface, and decided on the use of a flexi-hose connected to the grey water outlet to ensure proper drainage and eliminate the potential for future leaks.
Fabrication:
Back at the factory, the tray was produced to the template size, using material doubled up to a thickness of 24mm. The product was then CNC sloped, according to the required drainage position noted on site. Once the tray was cut, it was polished to a 220 sandpaper grid. This finish ensures the surface area is smooth, but not slippery. Material for the tray substructure was also prepared.
Installation:
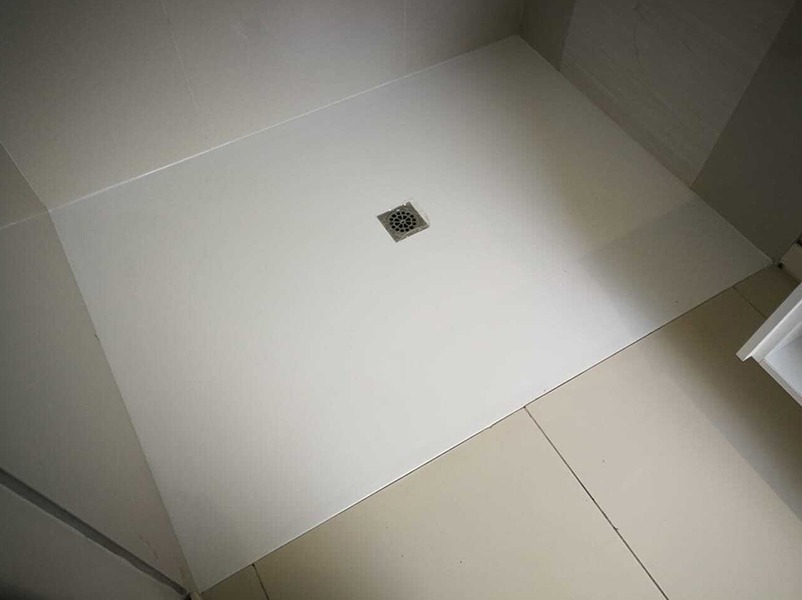
Our Infin8 Surfacing installer met with the builder and plumber on site for the installation process. The collective effort ensures the shower base is positioned level and is completely waterproof. Once this base structure was set and levelled, the plumber fixed the flexi-hose to the grey water outlet. The 24mm shower tray was secured to the base structure using epoxy, a material that allows the solid surfacing to expand and contract on the base substructure. Once the tray and the base were set, we completed the installation by positioning the frame at the top of the tray. This 12mm frame prevents water from flowing outside of the shower area, and the design used will allow for a shower door to be fitted to the tray.


